
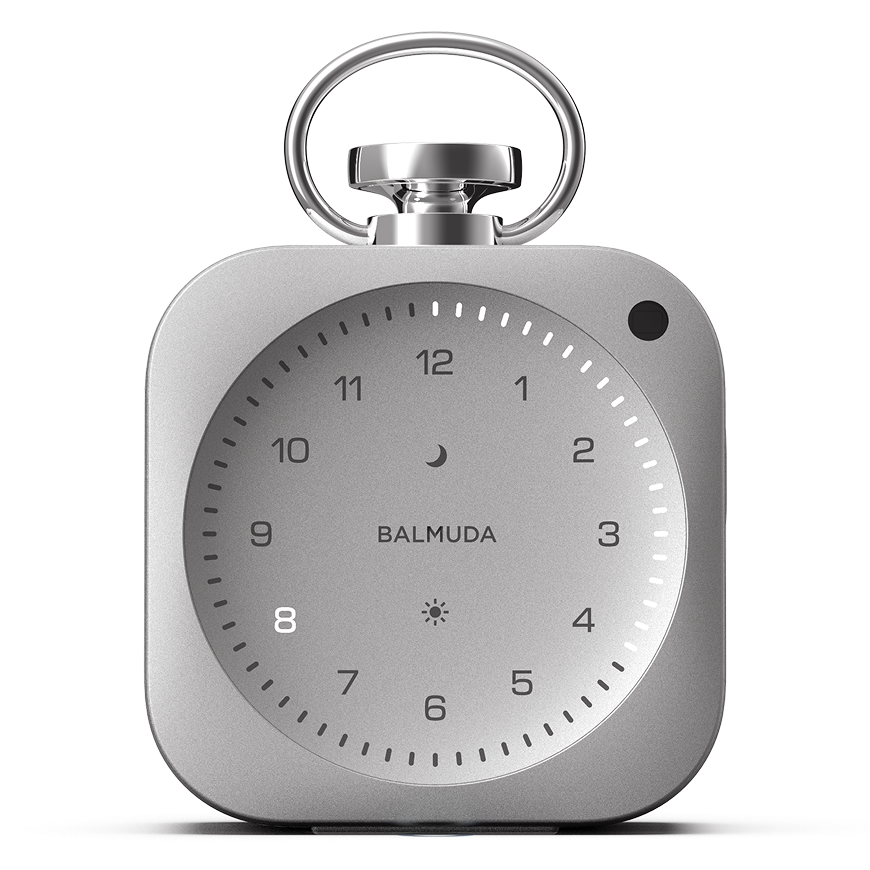


Quick Start Guide
The Clock can perform basic operations using only the main unit. When paired with the App, you can configure detailed settings such as sound selection.
Using the main unit only
Step 1: Charge
Be sure to charge the device before first use.
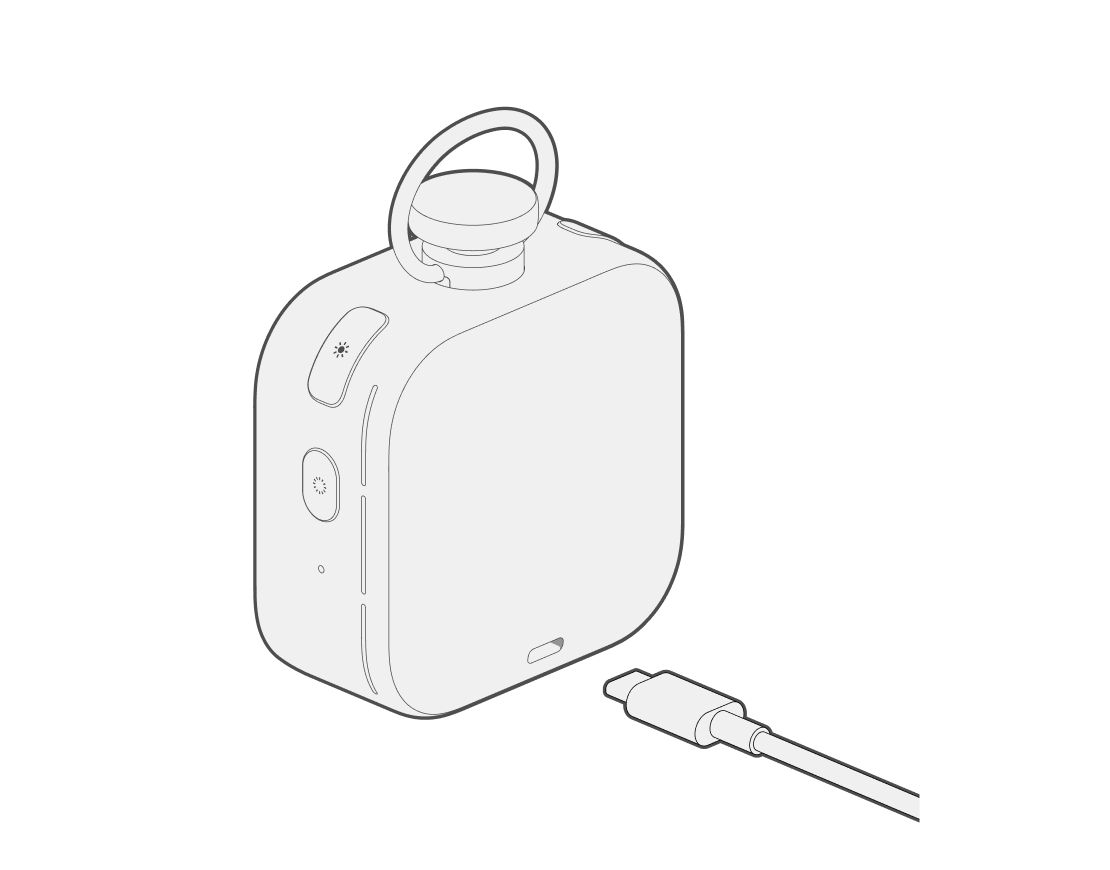
Charging The Clock requires a USB power supply capable of 15 W (5 V 3 A) or higher. Please use a USB cable with USB-C (USB Type-C) on both ends, and an adapter or charger with a single port that can output 15 W or higher.
Step 2: Turn on the power
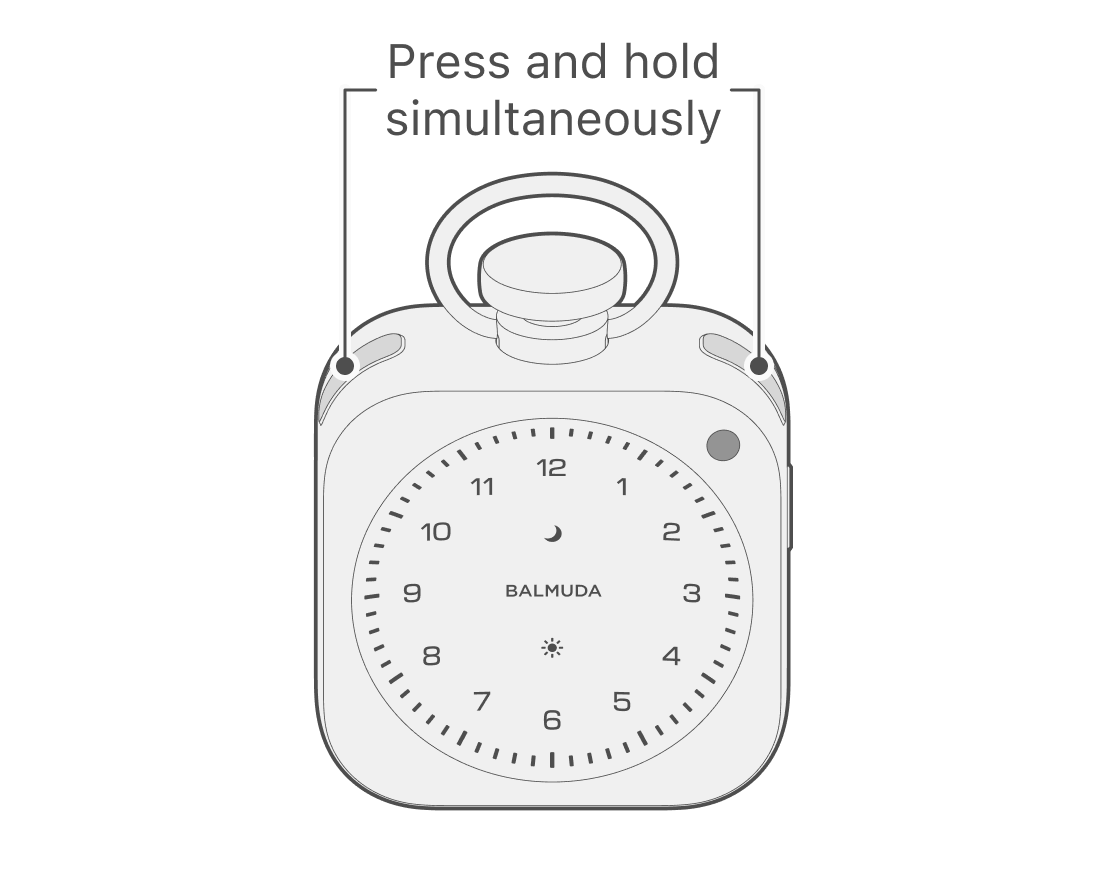
Press and hold the Moon button and Sun button simultaneously to turn on the power.
Step 3: Set the time
To set the time, press and hold the three buttons—Moon button, Sun button, and Crown—simultaneously.
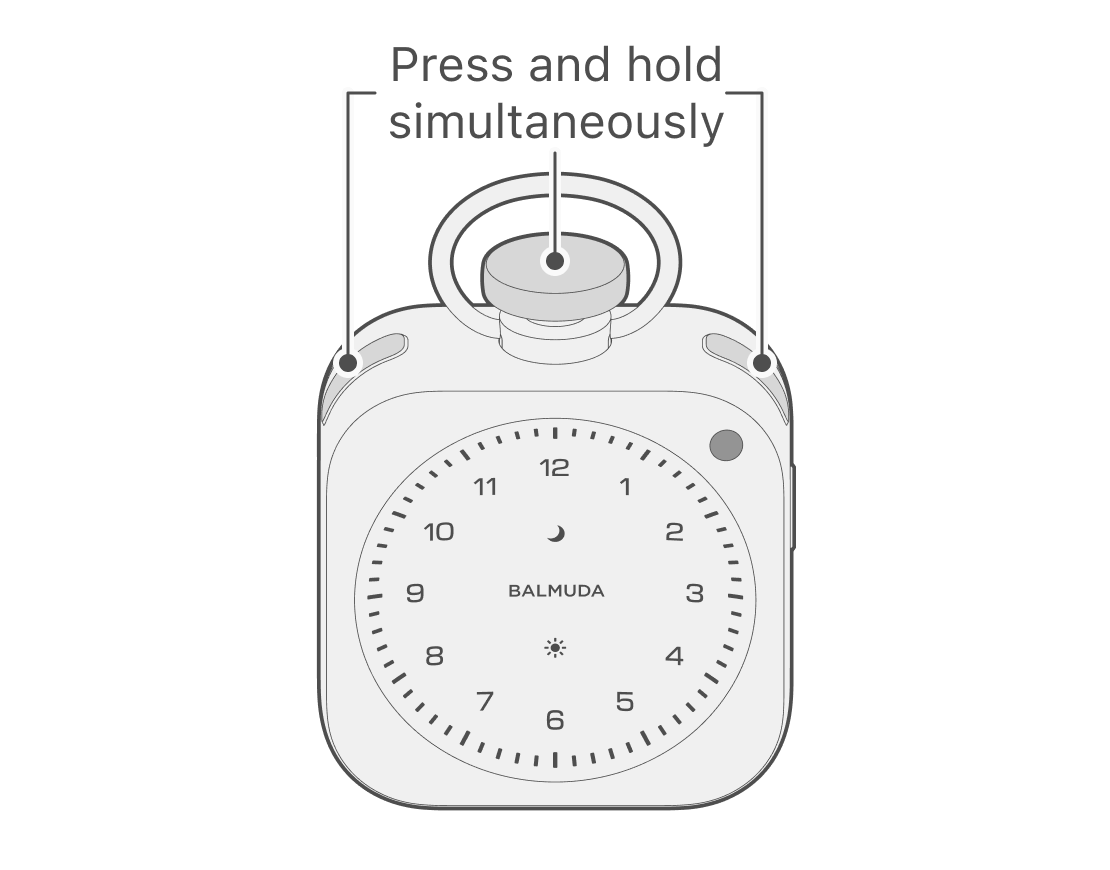
In Time setting, set “Hour” first, then “Minute.” When setting “Hour,” the selected number blinks; rotate the Crown to select, then press the Crown to Confirm.
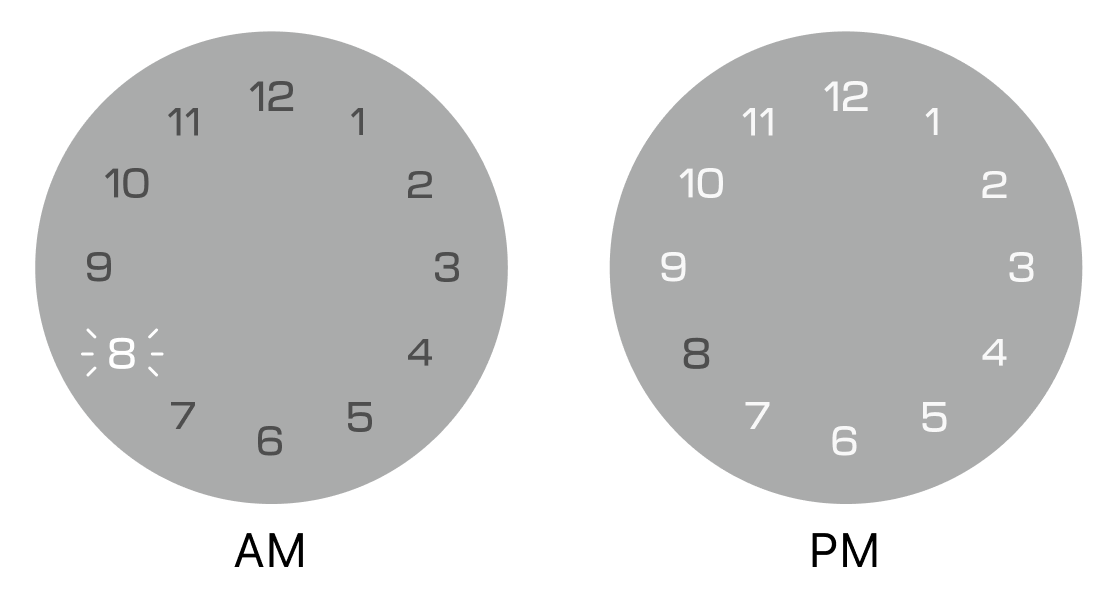
In AM, only the selected number blinks and the other numbers are Off.
In PM, only the selected number blinks and all other numbers are On.
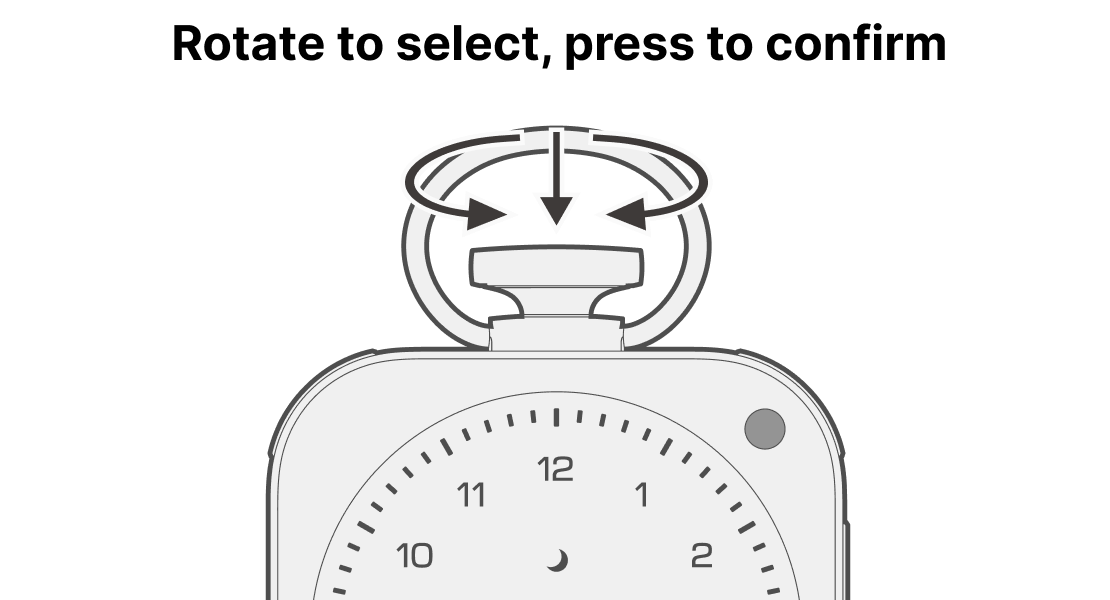
After setting the Hour and Minute, press the Crown; the entire display will blink and Time setting is complete.
Step 4: Master the features
For how to use the basic functions, see “Functions of Each Button.”
Using with the App (Pair)
When paired with the App, you can do the following:
- Configure main unit settings from the App (Bluetooth® communication)
- Automatically adjust the time via Wi‑Fi
- Change sound for Alarm, Relax Time, and Timer functions
- Turn the Hourly signal on/off and change the hourly chime sound
- Set the Second Time Zone
- Apply Software update
Step 1: Install the App
The App for setting up The Clock, “BALMUDA Connect,” is available for iPhone and Android smartphones. Please download it from the app store.


If you have already downloaded the App, you need to update it to the latest version.
Step 2: Configure App initial settings
Install the App, then after creating a new BALMUDA Connect account or logging in, you can pair it from “Add a product.” For details, see “Pair / Unpair.“
Step 3: Pair via Bluetooth
With The Clock powered off, press and hold the Side button to enter Bluetooth Pairing mode. Follow the instructions in the App to complete pairing.
Step 4: Configure Wi‑Fi
When Wi‑Fi is configured, The Clock can automatically set itself to the correct time even when your smartphone is not nearby. You can also skip this setting and do it later.