

Pairing / Unpairing with the App
About the App
By connecting The Clock to the dedicated app “BALMUDA Connect,” you can use it more conveniently. It connects to your smartphone via Bluetooth, enabling accurate time synchronization, various settings, and change sound that cannot be done on the main unit.
Operating environment
The Bluetooth and Wi-Fi specifications for The Clock are as follows.
- Bluetooth: Version 5.0
- Wi-Fi: IEEE802.11a/b/g 2.4GHz
Supports only 2.4GHz Wi-Fi.
What you can do with the App
To connect with the App, Bluetooth connection and Wi-Fi connection are required.
Bluetooth connection
- Configure main unit settings from the App (Bluetooth® communication)
- Change sound for Alarm, Relax Time, and Timer functions
- Turn the Hourly signal on/off and change the hourly chime sound
- Set the Second Time Zone
Wi-Fi connection
Wi-Fi connection is used to:
- Automatically adjust the time via Wi-Fi
- Apply Software update
If any of the following apply, you will need to re-register the product to change the Wi-Fi settings:
- App version 1.1.3 or below
- Device software version 1.0.10
For details, please refer to “The Clock Re-registration and Software Update Procedure.“
Pairing with the App
This section describes how to install the App on your smartphone and, after logging into it, pair the App with The Clock.
On the App’s device list screen, tap “Add a product.”
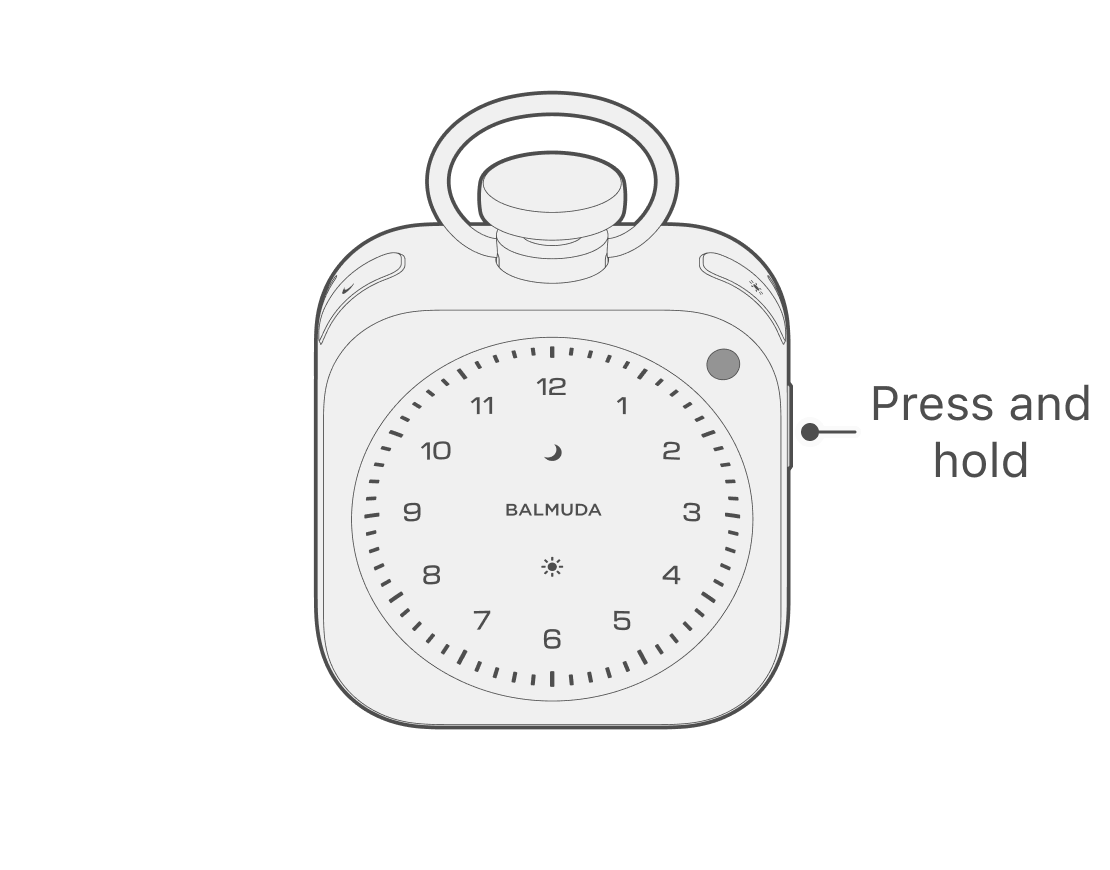
With The Clock main unit powered off, press and hold the Side button to enter Pairing mode.
If The Clock is already paired, you need to unpair The Clock from the App. For how to unpair, see “Unpair from the App.”
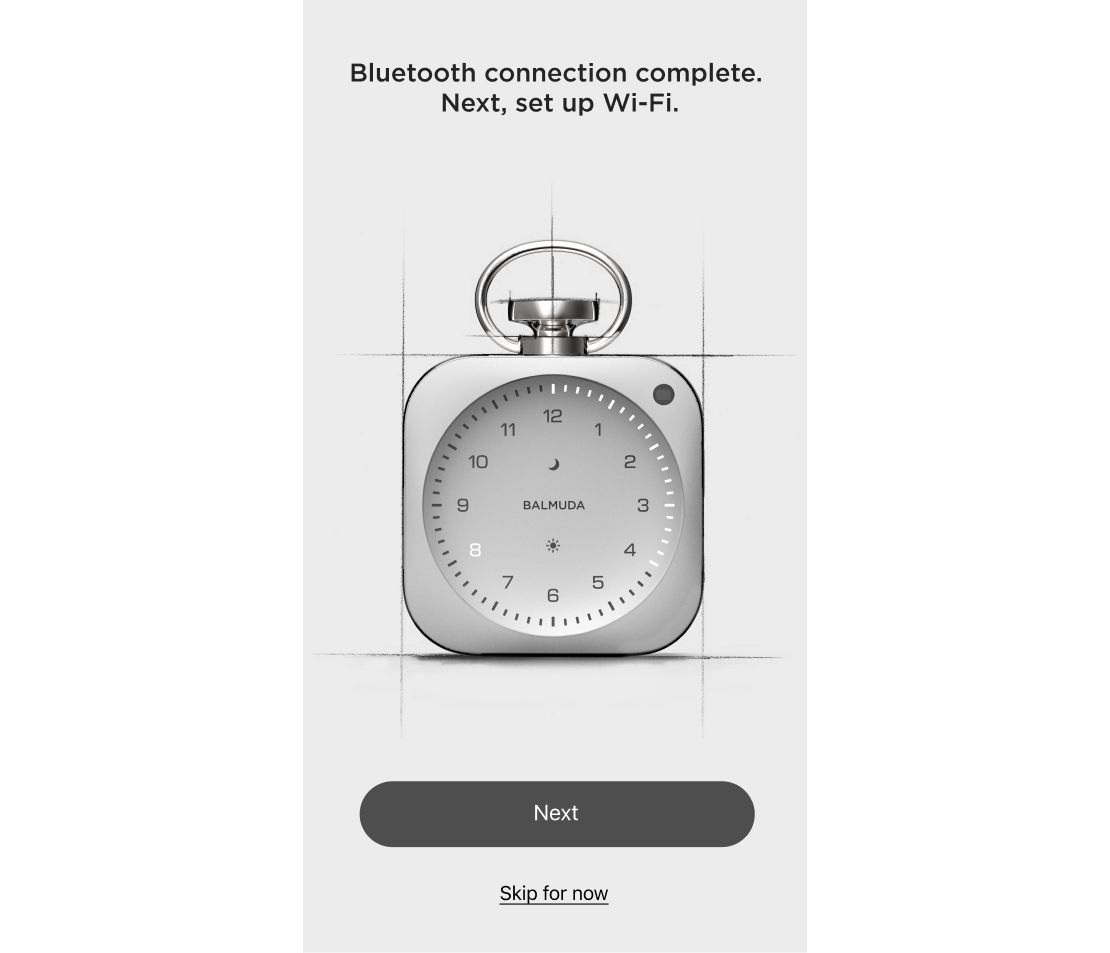
Follow the instructions in the App to perform Bluetooth connection. At this time, when the Bluetooth connection is complete, and the message “Bluetooth connection complete. Next, set up Wi-Fi.” will be displayed on the screen.
Complete setup using Bluetooth only
Tap “Skip for now” to complete setup using only Bluetooth connection.
If any of the following apply, you will need to re-register the product to change Wi-Fi settings later:
– App version 1.1.3 or earlier
– Device software version 1.0.10
For details, please see “The Clock Re-registration and Software Update Procedure.“
Connect to Wi-Fi
Follow the App instructions to connect to Wi-Fi. When the connection is complete, the screen below will appear.
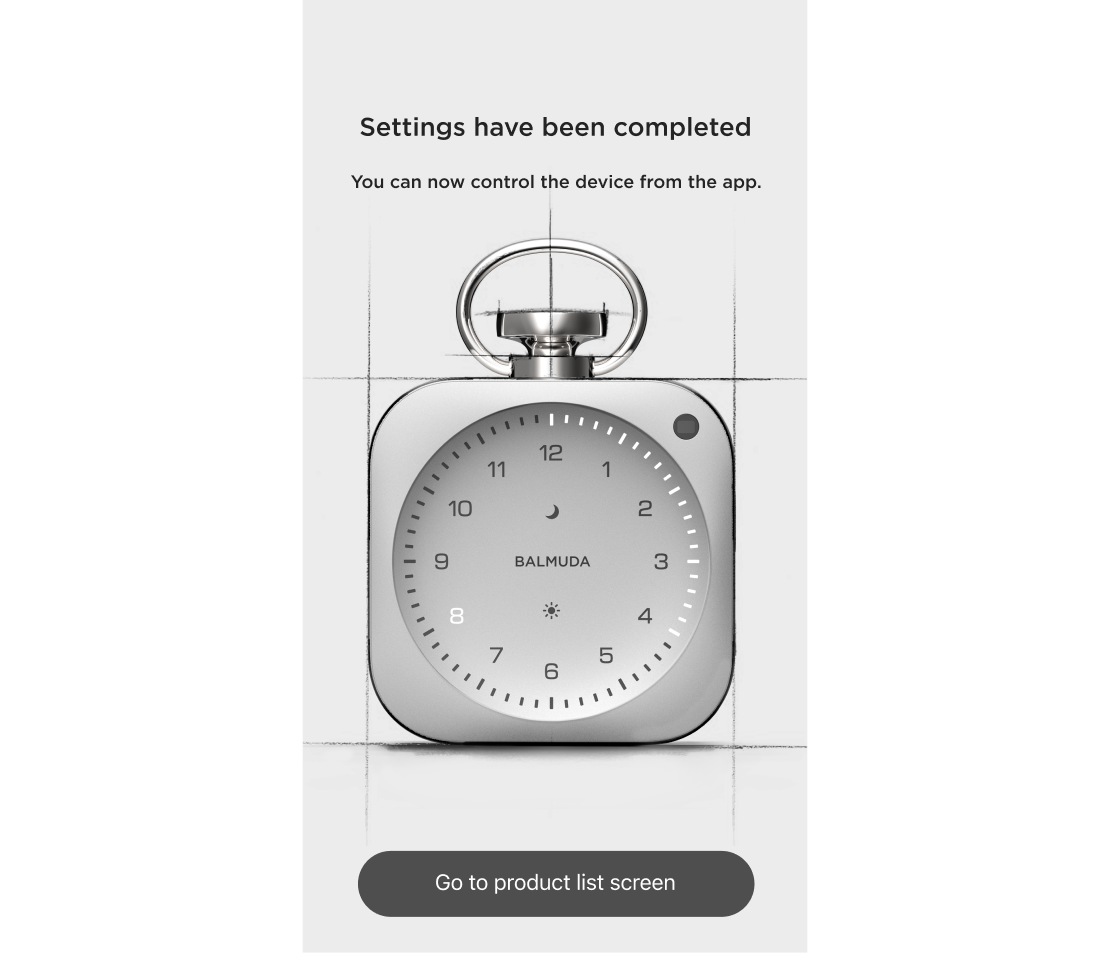
If pairing does not work, please see the “Connection Guide” shown on the App screen.
Connecting to and changing Wi-Fi
If you want to set up or change Wi-Fi later
If any of the following apply, you will need to re-register the product to change Wi-Fi settings later:
– App version 1.1.3 or earlier
– Device software version 1.0.10
For details, please see “The Clock Re-registration and Software Update Procedure.“
If you want to set up or change Wi-Fi later, please follow the steps below.
From the app’s product list, select this product and choose “Device Information” at the bottom of the screen.
Tap “Wi-Fi” within “Device Information” to start Wi-Fi setup.
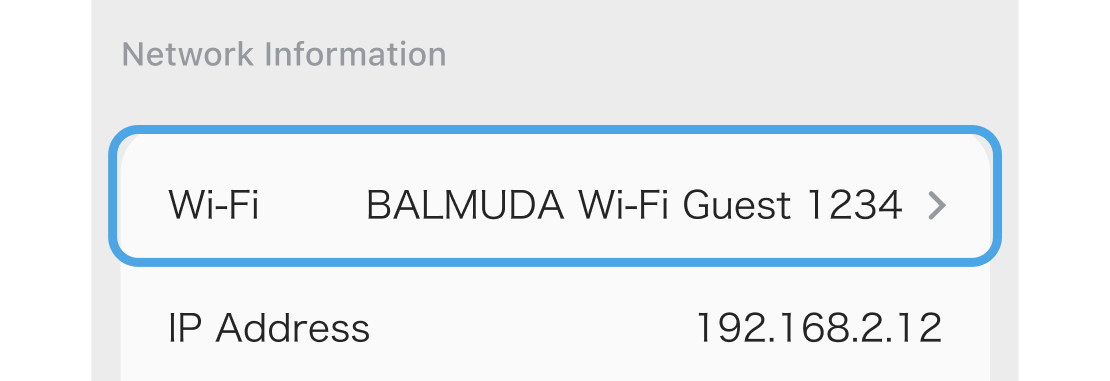
Follow the app instructions to connect to Wi-Fi.
When the connection is complete, “Setup is complete” will be displayed.
Naming the device
On the App, you can assign a name to each device. You can change the name from “Device Name” under “Device information”.
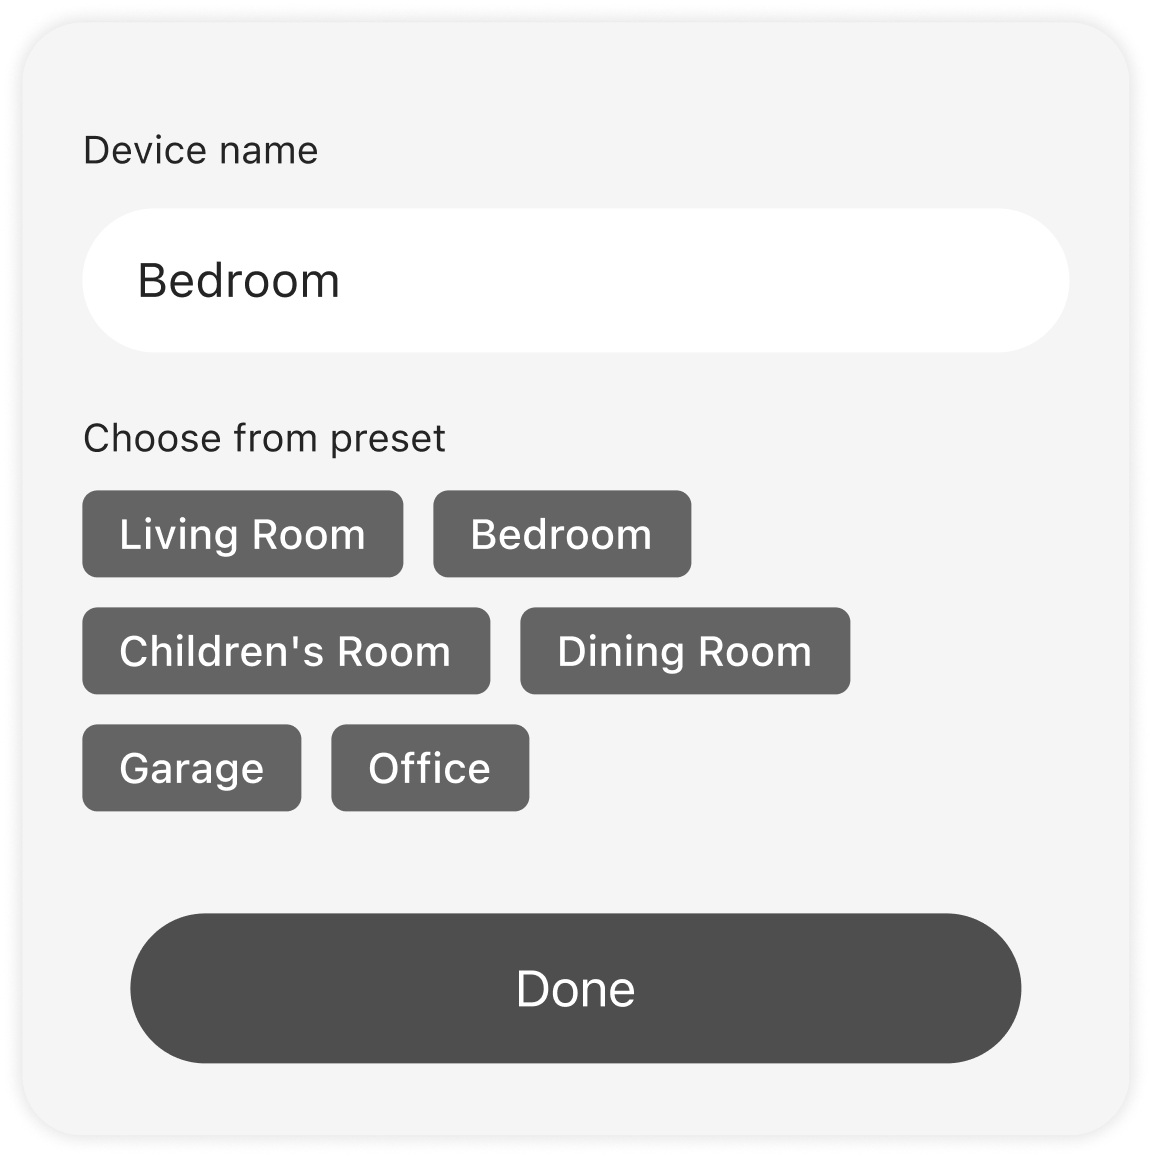
Unpair from the App
If you dispose of or transfer The Clock, please disconnect it from the app first.
From the App’s product list, select the product you want to remove, then select “Device Information” at the very bottom of the screen. You can unpair by tapping “Remove Product” under “Device Information.”
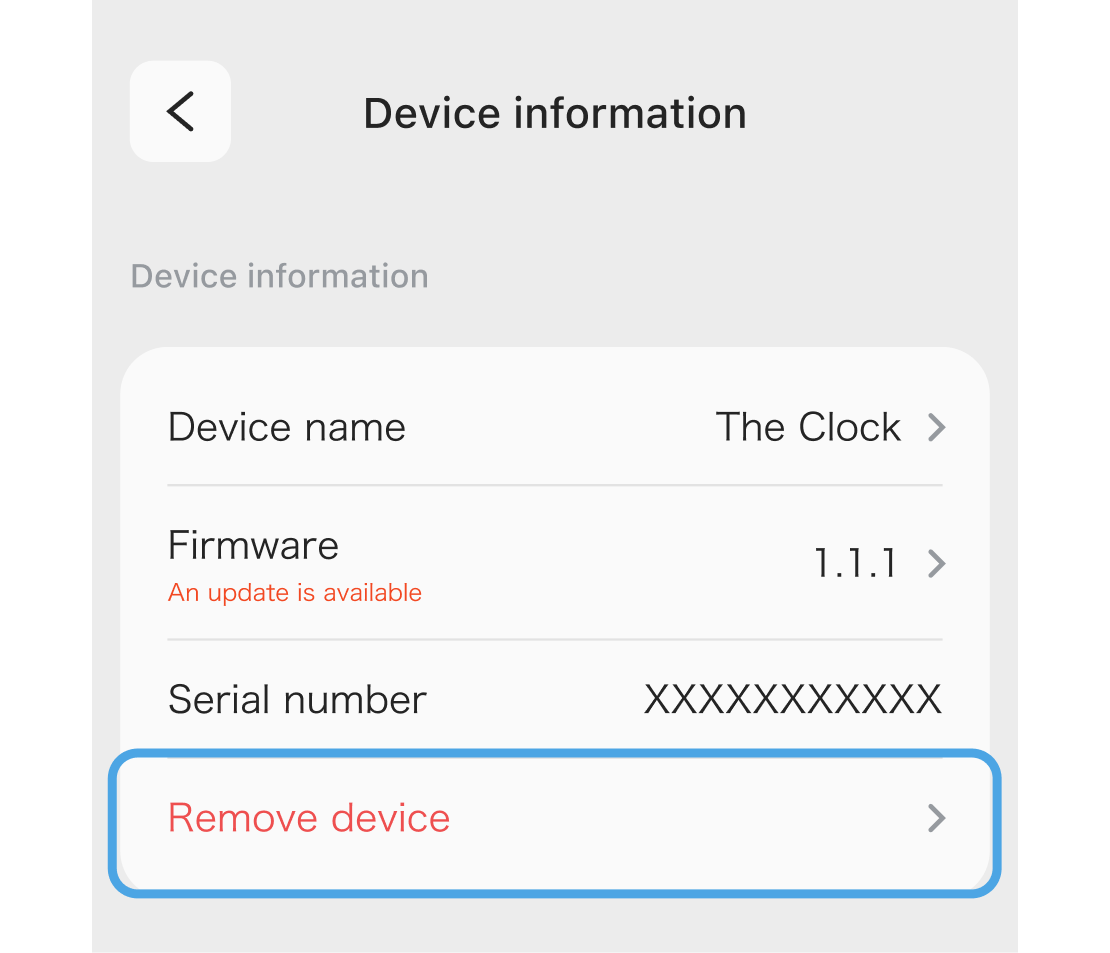
Please note that this operation cannot be undone.
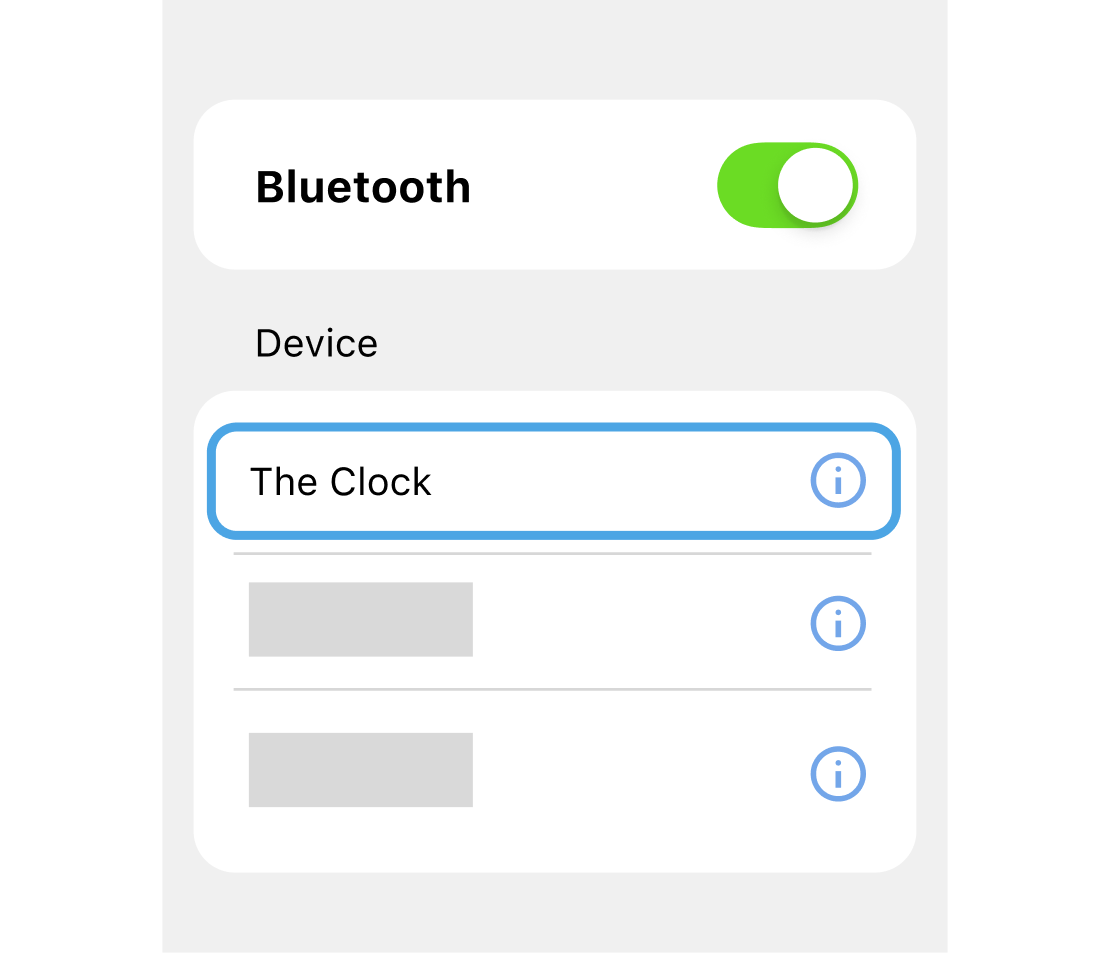
On your smartphone’s Bluetooth settings screen, select “The Clock” and remove it.